Knowing what happens between an estimate request and vehicle pickup makes an accident repair easier to manage. The collision repair process at Woodley Collision follows a practical sequence: collect the first information, inspect the vehicle, build and update the repair plan, complete authorized work, review the result, and keep the owner informed.
Every vehicle and impact is different. The steps below explain the workflow rather than promising an exact repair method or completion date. Damage severity, hidden conditions, parts availability, insurer review, and required procedures can all affect the schedule.
The collision repair process in Van Nuys at a glance
- Submit an estimate request and contact details.
- Provide clear damage photos and accident information.
- Arrange vehicle intake and an in-person inspection.
- Develop the initial repair plan.
- Prepare insurance documentation when a claim is involved.
- Disassemble as needed and update the plan for hidden damage.
- Perform structural, body, and mechanical repairs.
- Prepare, refinish, and reassemble affected areas.
- Complete a final review and coordinate pickup.
This order helps separate what is known at first glance from what can only be confirmed after access, measurement, or disassembly. It also gives the owner clear points at which new information may change the plan.
1. Start with an estimate request
The process can begin through the online estimate request, which is available at any time. Include your name, reliable contact information, vehicle year, make and model, and a concise explanation of how the damage occurred. If an insurance claim is already open, add the insurer and claim number.
An online request is a starting point, not a substitute for every inspection. It helps Woodley Collision understand whether the vehicle appears drivable, what areas may need attention, and what information should be gathered next. Avoid driving if the vehicle has fluid leaks, tire interference, severe steering changes, loose parts, or safety warnings.
2. Send useful damage photos
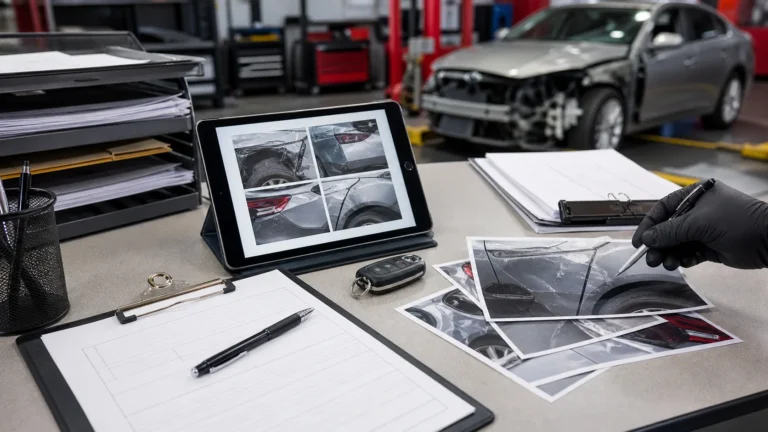
Good photos make the first review more productive. Take wide images that show the entire vehicle and closer images of each damaged area. Photograph from several angles in daylight when it is safe. Include panel gaps, broken lamps, wheel position, glass damage, the dashboard if warning lights are present, and debris or loose parts you retained.
Photo checklist
- Front, rear, and both sides of the vehicle
- A wide view of the main impact area
- Close views from straight on and at an angle
- Wheels, tires, lamps, glass, and adjacent panels
- Dashboard warning lights with the vehicle safely parked
- Vehicle identification and insurance information sent privately, not posted publicly
Photos show surface conditions but may not reveal crushed absorbers, bent brackets, damaged mounting points, wiring issues, or structural movement. Those questions belong in the inspection.
3. Inspect the vehicle in person
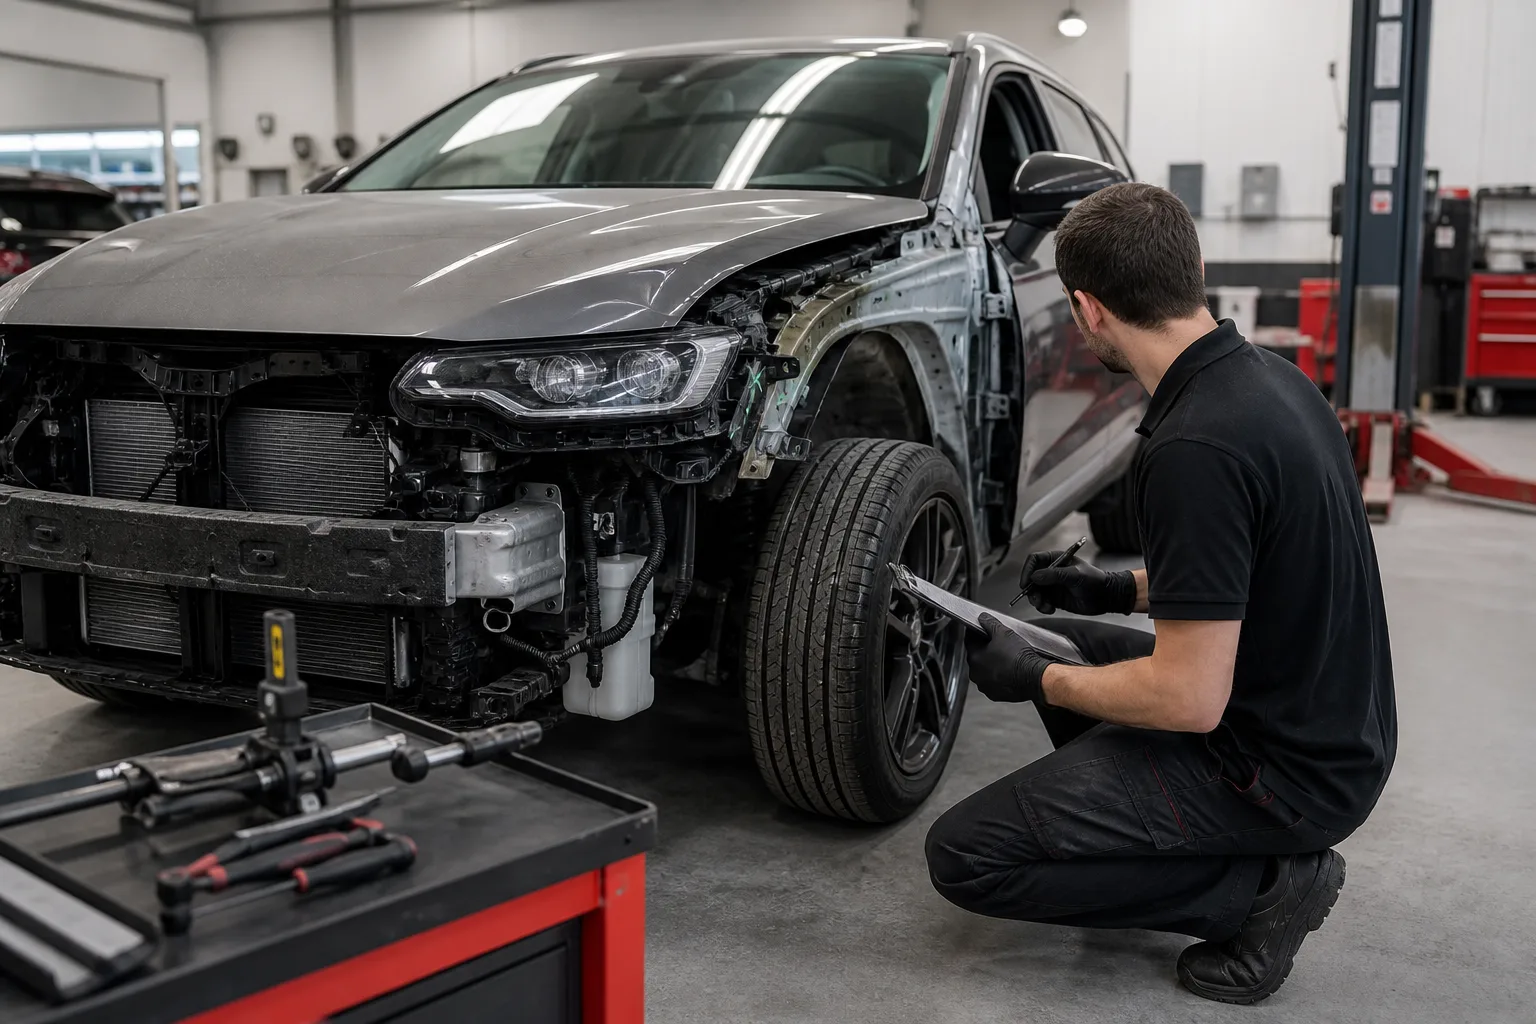
At intake, the vehicle’s condition and the reported loss are documented. The team examines the visible impact area and related components. Depending on the damage, inspection may involve checking panel fit, lighting, glass, steering feel, suspension position, fluid systems, warning indicators, or diagnostic information.
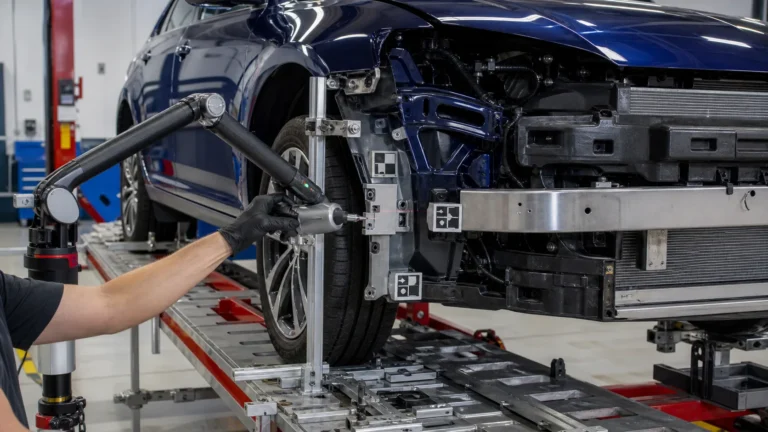
For a significant impact, measurements may be needed to determine whether frame straightening and structural repair belong in the plan. A vehicle can look cosmetically damaged while force has traveled into mounting points or the underlying structure. Conversely, not every dent indicates structural damage; evidence should guide the conclusion.
4. Build a repair plan
The repair plan translates observed damage into labor operations, parts, materials, measurements, scans, and other procedures that may be required. It should also reflect the correct sequence. Structural correction or collision-related mechanical work may need to occur before exterior panels are aligned and refinished.
Parts decisions depend on the vehicle, availability, condition, repairability, and any applicable insurer process. An initial plan can change after damaged parts are removed. This is normal when hidden areas could not be seen during the first estimate, but the reason for each addition should be documented.
5. Organize insurance documentation
When insurance is involved, Woodley Collision can prepare repair documentation and communicate about the damage-related estimate. Useful records may include photos, part details, measurements, repair procedures, and a supplement describing newly discovered accident damage.
The insurance company determines coverage under the policy and its own review process. The shop determines what repair operations it documents and recommends based on the vehicle. Keeping those roles clear helps the owner understand whether a delay relates to inspection, authorization, parts, or the repair itself.
What is a supplement?
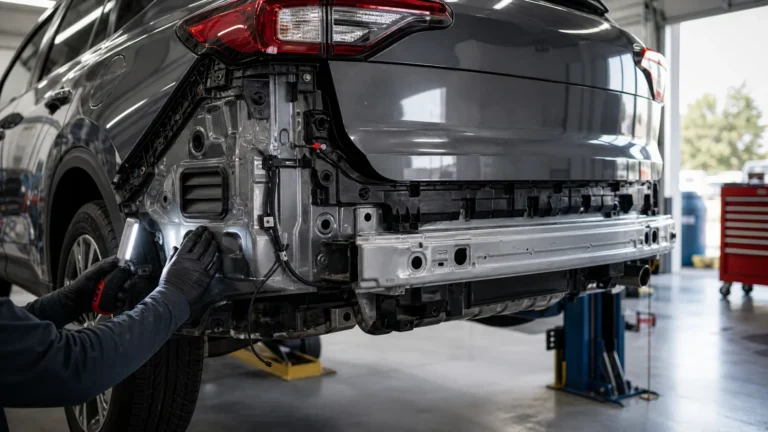
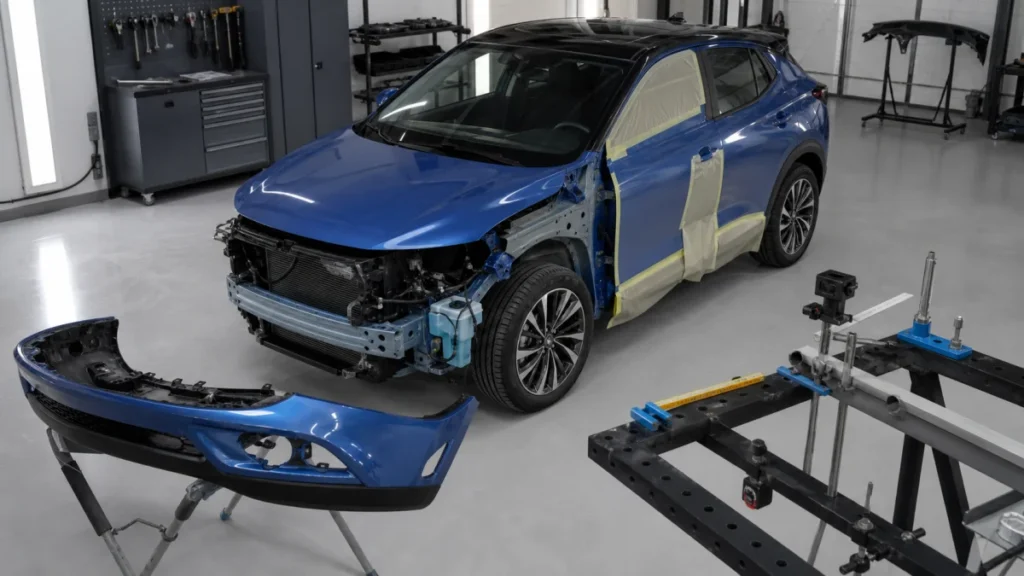
A supplement is an update to an estimate when additional related damage or required operations are identified after the first assessment. For example, removing a bumper cover may reveal a damaged reinforcement, absorber, bracket, sensor mount, or wiring connector. The added documentation explains what was found and why the plan changed.
6. Complete structural, body, and mechanical work
Authorized repair work begins in the order required by the damage. This can include removing damaged parts, making structural corrections, repairing or replacing panels, restoring mounting points, addressing bumper components, and checking affected systems.
An impact can also affect components that do not look like bodywork. The shop’s collision-related mechanical repair service addresses connected items such as steering, suspension, cooling, lighting, and other mechanical conditions caused by the collision. General maintenance unrelated to the accident is not automatically part of a collision repair plan.
During this stage, fit and function are checked before final finishing. Panel gaps, attachment points, closures, lamps, and adjacent parts need to work together. Completing refinishing before these relationships are correct would create unnecessary rework.
7. Prepare and refinish repaired areas
Refinishing begins with preparation. Repaired surfaces are cleaned, shaped, sanded, primed, and sealed as required for the materials and procedure. Color is evaluated against the vehicle because age, prior work, finish variation, and metallic or pearl orientation can affect appearance.
Paint application is only one part of the finish. Masking, blending decisions, curing, polishing when appropriate, and protection of adjacent areas all influence the result. Refinished panels then move into reassembly so trim, lamps, handles, moldings, glass, and other removed components can be installed correctly.
8. Reassemble and conduct the final review
Final review is more than a quick glance at the paint. The applicable checks depend on the repair but may include exterior appearance, panel fit, lamps, closures, warning indicators, glass, installed trim, fluid levels, wheel clearance, and a road or operational check when appropriate.
The team also reviews whether the documented repair operations are complete and prepares the vehicle for delivery. Owners should inspect the repaired area at pickup and ask questions about the final paperwork. If anything in the repair explanation is unclear, pickup is the right time to discuss it.
Repair-status communication and pickup
Repair timing can move when parts are delayed, hidden damage is discovered, or insurance review is pending. Useful status communication identifies the current stage and the next dependency. “Waiting for a specific part” or “supplement submitted for review” gives more context than an unsupported completion promise.
Owners can use the repair-status page to find the shop’s contact options. Keep your phone number and email current, and respond promptly when Woodley Collision needs a decision. At pickup, confirm payment arrangements, collect the final documents, remove personal belongings, and ask for a walkthrough of the completed areas.
Frequently asked questions
How long does collision repair take?
There is no single duration. Severity, inspection findings, parts supply, insurer review, repair procedures, and refinishing needs all affect timing. The most reliable update is based on the vehicle’s current repair stage rather than a generic average.
Can repairs begin from an online photo estimate?
Photos can begin the conversation, but the vehicle generally needs an in-person inspection before the full plan is confirmed. Hidden damage may only become visible after parts are removed or measurements are taken.
Will I receive updates if the estimate changes?
New findings should be documented and communicated through an updated plan or supplement. When a claim is involved, insurer review may also be required. Make sure the shop has a contact method you check regularly.
What should I bring when picking up my vehicle?
Bring identification, any payment or insurer information requested by the shop, and questions about the final documents. Allow time to review the repaired areas and confirm how keys and any removed personal items will be returned.
Begin the process with Woodley Collision
For collision repair in Van Nuys, contact Woodley Collision at (747) 745-5353 or submit an online estimate request. The shop is at 7243 Woodley Avenue and is open Monday through Friday, 9:00 AM–7:00 PM. Online requests are available anytime.